| Photo 21: |
 |
|
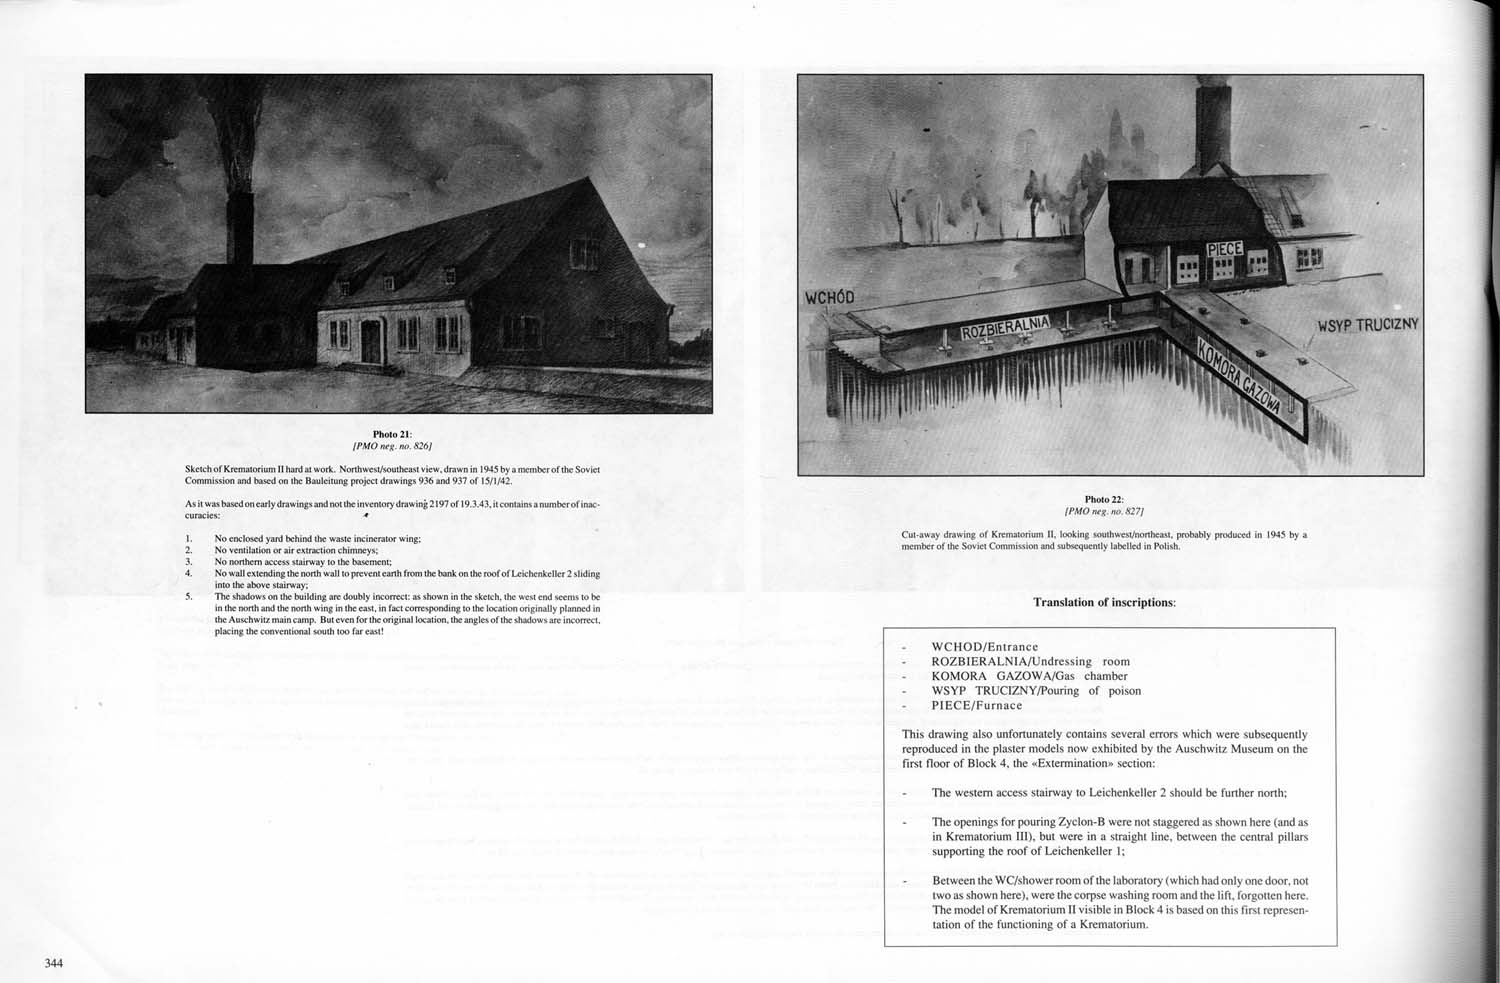
Photo 21:
[PMO neg. no. 826] |
Sketch of Krematorium II hard at work. Northwest/southeast view, drawn in 1945 by a member of the Soviet Commission and based on the Bauleitung project drawings 936 and 937 of 15/1/42.
As it was based on early drawings and not the inventory drawing 2197 of 19.3.43, it contains a number of inaccuracies. |
| 1. |
No enclosed yard behind the waste incinerator wing; |
| 2. |
No ventilation or air extraction chimneys; |
| 3. |
No northern access stairway to the basement; |
| 4. |
No wall extending the north wall to prevent earth from the bank on the roof of Leichenkeller 2 sliding into the above stairway; |
| 5. |
The shadows on the building are doubly incorrect: as shown in the sketch, the west end seems to be in the north and the north wing in the east, in fact corresponding to the location originally planned in the Auschwitz main camp. But even for the original location, the angles of the shadows are incorrect, placing the conventional south too far east! |
|
| Photo 22: |
 |
|
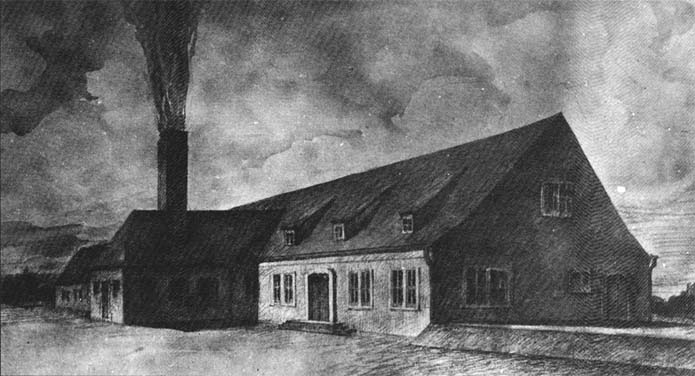
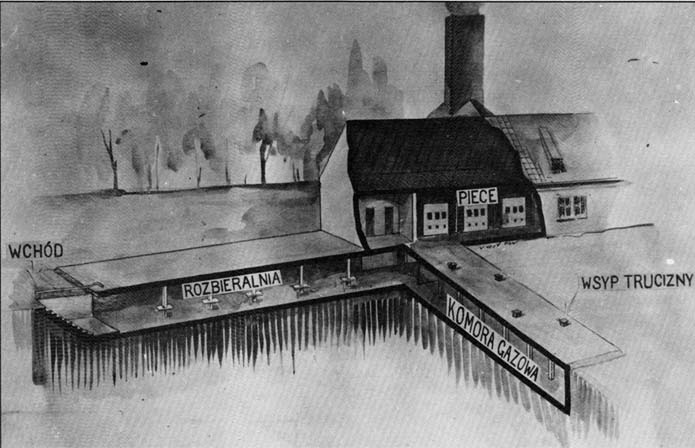
Photo 22:
[PMO neg. no. 827] |
| Cut-away drawing of Krematorium II, looking southwest/northeast, probably produced in 1945 by a member of the Soviet Commission and subsequently labeled in Polish. |
| |
Translation of inscriptions: |
|
| · |
WCHOD / Entrance |
|
| · |
ROZBIERALNIA / Undressing room |
|
| · |
KOMORA GAZOAW / Gas chamber |
|
| · |
WSYP TRUCIZNY / Pouring of poison |
|
| · |
PIECE / Furnace |
|
| This drawing also unfortunately contains several errors which were subsequently reproduced in the plaster models now exhibited by the Auschwitz Museum on the first floor of Block 4, the “Extermination” section: |
| · |
The western access stairway to Leichenkeller 2 should be further north; |
|
| · |
The openings for pouring Zyklon-B were not staggered as shown here (and as in Krematorium III), but were in a straight line, between the central pillars supporting the roof of Leichenkeller 1; |
|
| · |
Between the WC/shower room of the laboratory (which had only one door, not two as shown here), were the corpse washing room and the lift, forgotten here. The model of Krematorium II visible in Block 4 is based on this first representation of the functioning of a Krematorium. |
|
|